new SUNPLN wire mesh cable tray
Do you know how many installation methods are available for wire mesh cable tray,basket cable tray,cable tray? Because of the variability of his "character" and "body shape", he has unlimited plasticity. Today, let's talk about the five most common installation methods of wire mesh cable tray
1、 new SUNPLN wire mesh cable trayhoisting
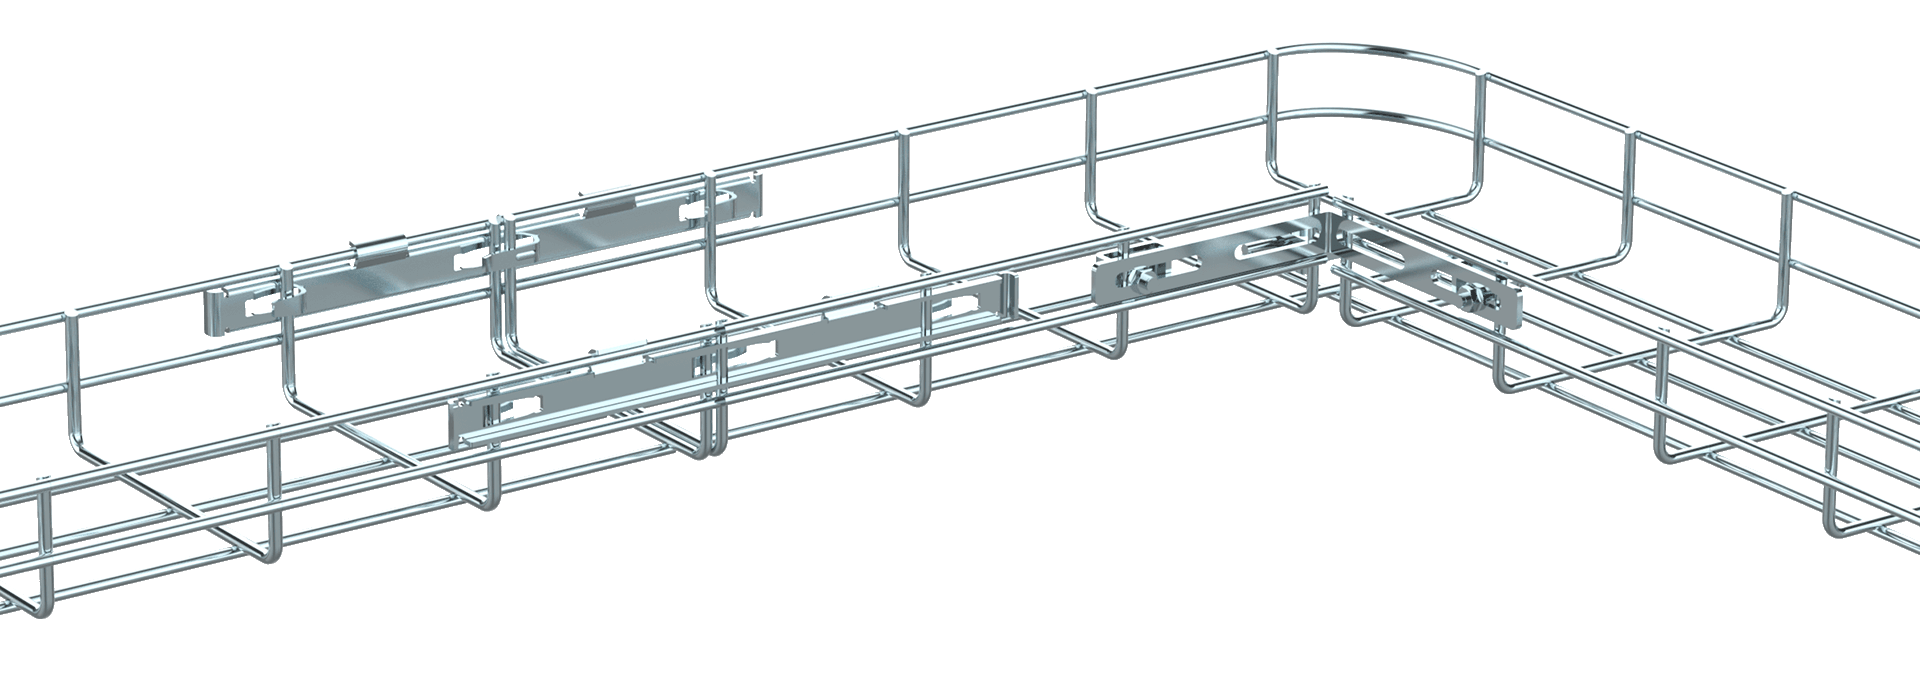
wire mesh cable tray hoisting is a very common installation method, which can fully save and utilize indoor space. The accessories used are:
2. 1. For lifting the rung, it is necessary to order the appropriate length and size according to the width of the wire mesh cable tray. The dimensions of the rung are: 200mm, 300mm, 400mm, 500mm, 600mm, 1000mm, 2000mm, 3000mm, etc. You can choose the accessories such as screw rod, nut and expansion screw to install the hook of the new fashion, see the effect drawing
2、 new SUNPLN wire mesh cable tray wall installation
Wall-mounted is a way to fix the wire mesh cable trayon the wall. Generally, it is installed on the side wall or along the wall. It is often used in scenes with certain architectural structure limitations such as factory buildings. The accessories required for wall mounting of grid cable tray are L supports, and the common specifications are: 200mm, 300mm, 400mm, 500mm, etc
3、 new SUNPLN wire mesh cable tray ground installation
1. Select several types of ground support, directly use four expansion screws to fix it on the ground, and then put the wire mesh cable tray on the several types of ground support. The grid bridge can be fastened directly with the protruding buckle, without bolts and nuts.
2. The second option is to install the spider buckle on the ground. Fix the spider buckle on the ground directly with two expansion screws, and then put the wire mesh cable tray on the spider buckle. Just clip it in directly, without bolts and nuts.
4、 Top installation of new SUNPLN wire mesh cable tray cabinet
The wire mesh cable tray is installed on the top of the cabinet, and the wire mesh cable tray is installed on the cabinet. The cabinets are arranged neatly, the wiring is simple, and there are many application scenarios. It is also a common installation method for computer room wiring. There are generally two types of accessories for the top installation of wire mesh cable tray cabinet:
The rack of the cabinet is used to install the wire mesh cable tray on the ground or on the top of the cabinet, which is neat and generous, and has good bearing capacity.
5、new SUNPLN wire mesh cable tray installed under the electrostatic floor
Install under the static floor, and install under the static floor of the machine room. Installation accessories include: electrostatic floor V-shaped fixed components, held on the support feet of the floor, adjustable height, bracket sets for installation under the electrostatic floor, one set (two upright poles and two sets of V-shaped fasteners) at 1.2m, optional bolts and nuts and other accessories.
fiber raceway,fiber duct,fiber tray,wire mesh cable tray,basket cable tray,cable tray,cable ladder,seismic bracing,cold aisle containment,hot aisle containment, server rack, network cabinet,plinth, anti-static raised floor, access floor, smart rack, modular data center,small data center


 Home
Home